The pros and cons of advanced coils
There are so many different advanced coils, and they all have their pros and cons. On the whole, this type of coil delivers much more vapour, stronger flavours and far better reaction times.
The main drawback is its complicated design. To make a simple microcoil, you just wrap a wire around a central pin and then vape. Making an advanced coil takes a bit more effort, especially if you want to calculate the resistance and the heating coefficient of the final set-up before you make it.
We prefer electric vaping
Advanced coils are more suited to vaping with an electronic mod, except for a few that vape just as well in a mech mod, like the Clapton, the fused Clapton, the alien or the framed staple.
Before tackling more complex coils, let’s start with the basic techniques you need to make your own advanced coils at home. We’ll refer to these tutorials to save time later, when we get on to advanced coils.
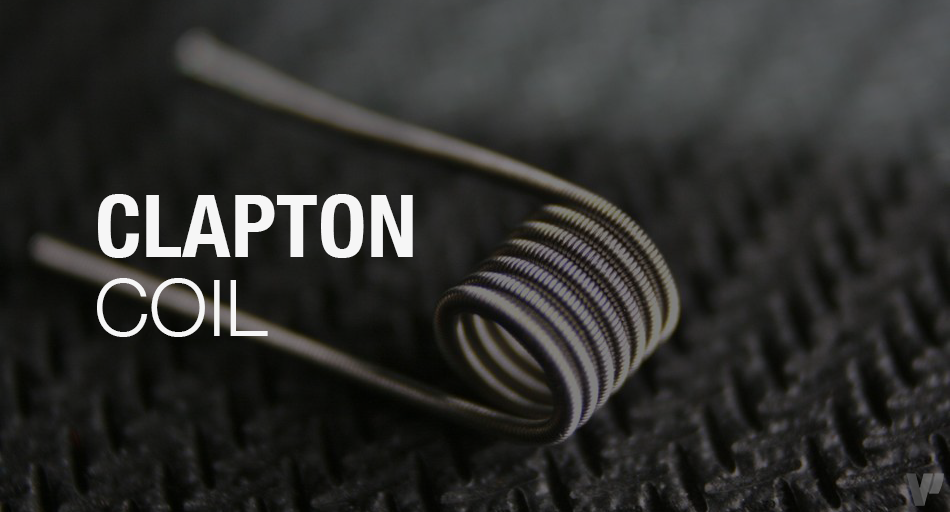
How do you make your own Clapton coil?

Difficulty level: 1/5 (very easy)
Time to make: 15 to 30 min., depending on experience
Materials needed:

- Electric screwdriver
- Wire cutter
- Slim round-nose pliers
- A wire lock with swivels (to keep the core wire taught)
- And of course, if this is your first go at it, some wire!
What wire should you use?
We recommend getting one reel of 26 gauge (0.4 mm) wire and one reel of 36 gauge (0.12 mm) wire. Once you’ve got the hang of it, you can choose finer wire for your Clapton. Don’t use too thick a wire, or the resulting resistance might be too low. Aesthetically it’s not as good either, so use a wire under 0.16mm for the thin wire.
The bigger the difference in thickness between your core wire and your Clapton, the nicer looking the end result will be. The finer your Clapton wire is, the more chrome-like the end result will look.
Now onto serious business
- Take the 26 gauge (0.4 mm) wire and cut a piece about 20 to 25 cm long. That’s going to be the core wire in your Clapton.
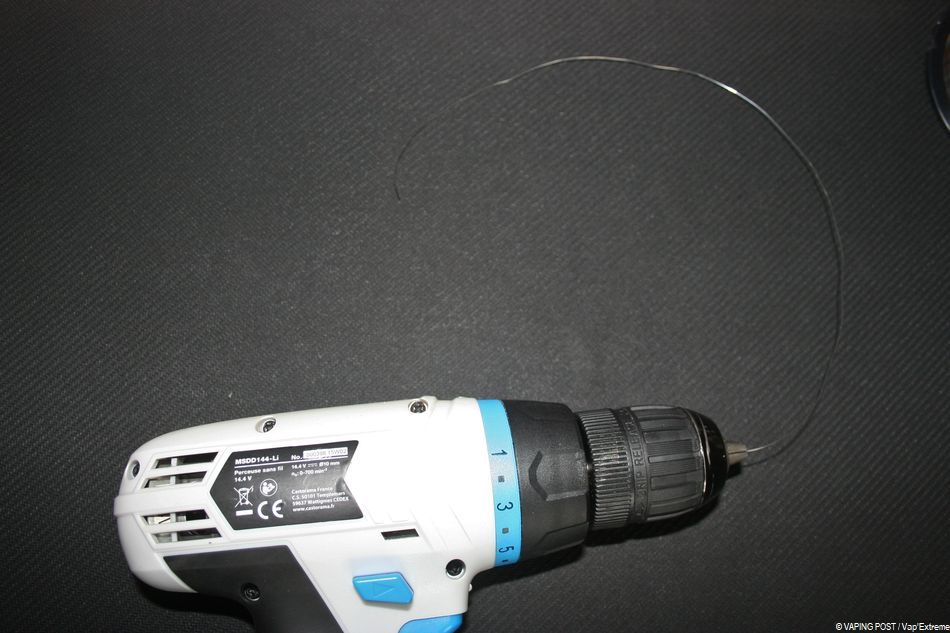
2. To straighten out any loops or kinks in your wire, lock one end of it in the screwdriver chuck.
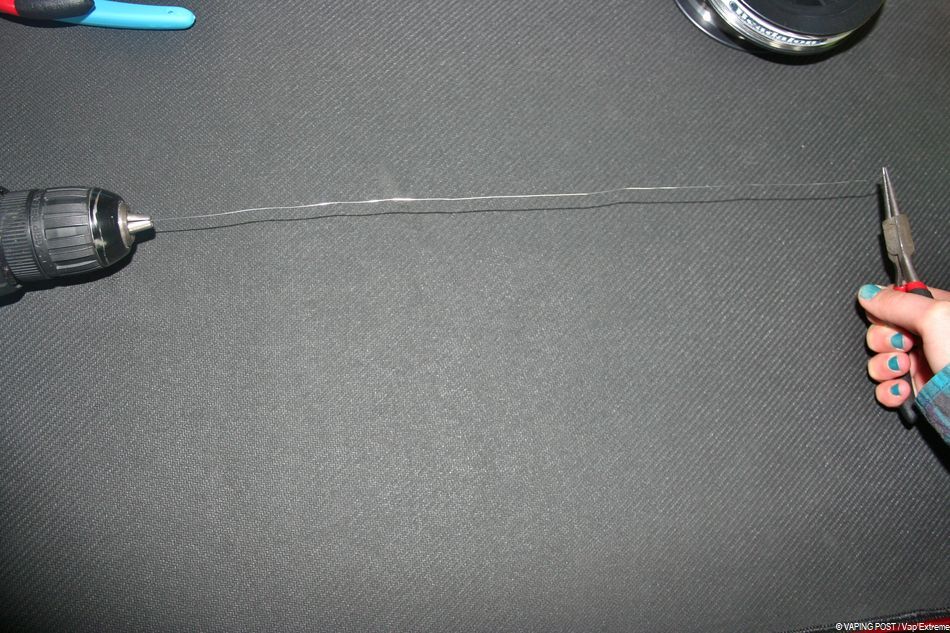
3. Hold the other end with your slim round-nose pliers and stretch the core wire as much as you can.
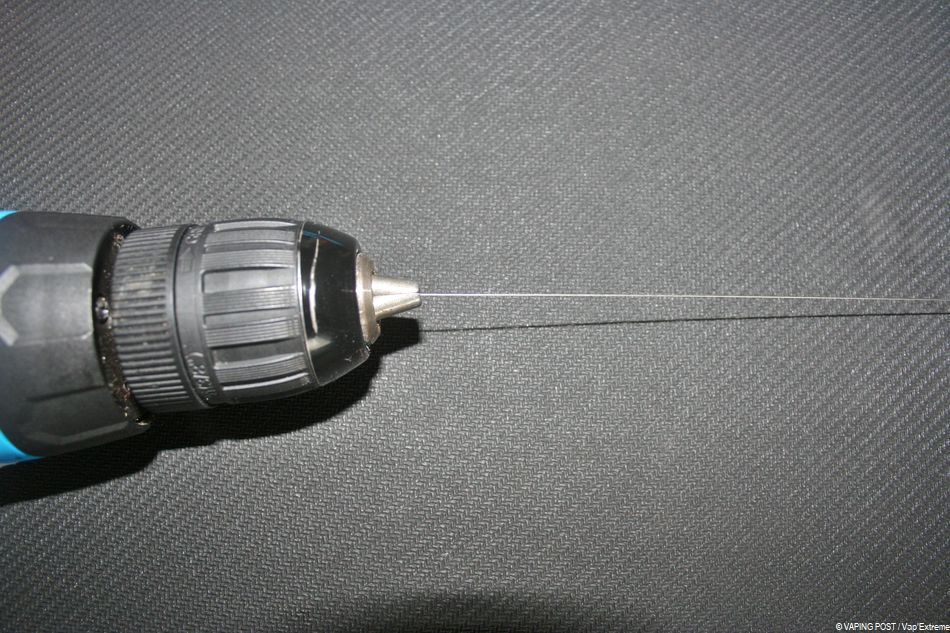
4. Then run the screwdriver for about 5 seconds to get a completely straight core wire.
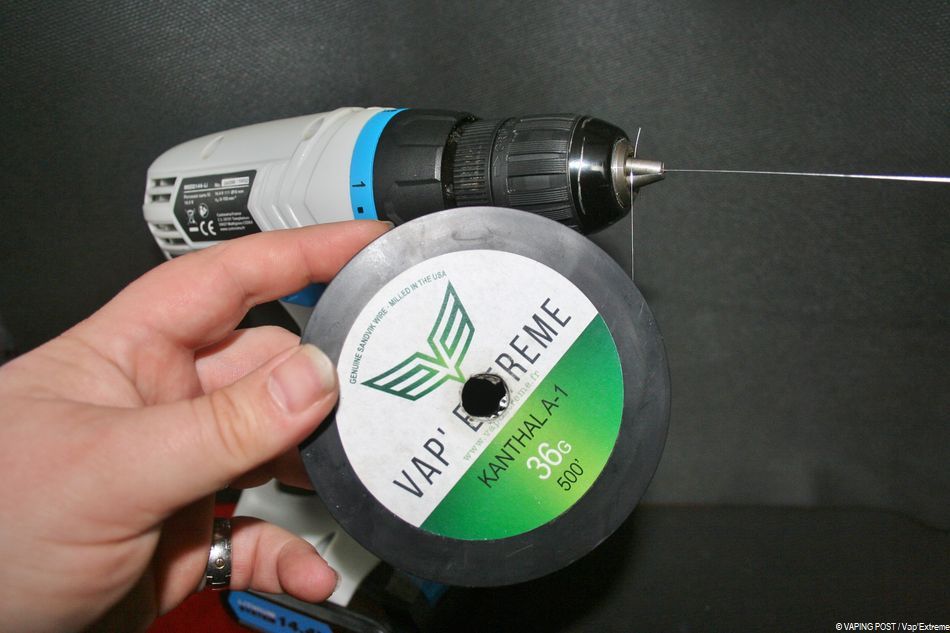
- Next, attach your Clapton wire to the core wire in the screwdriver chuck.
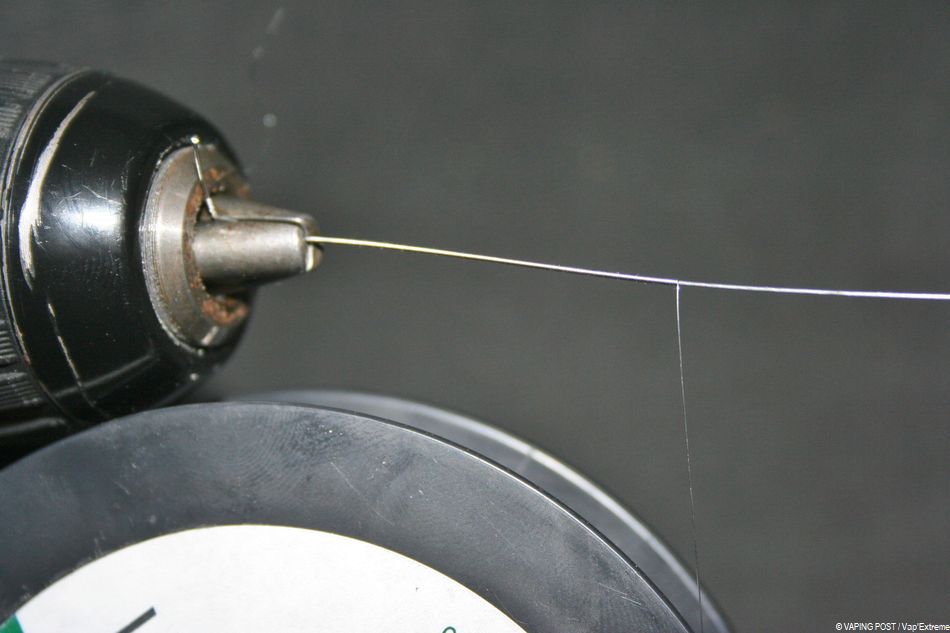
Run the screwdriver to wrap the Clapton wire around the whole length of the core wire.
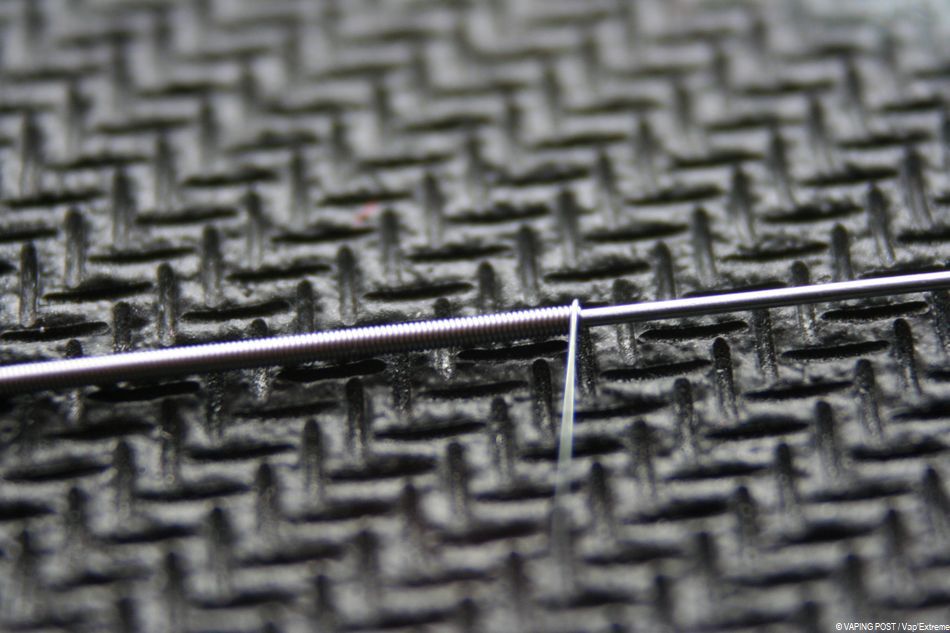
- Keep going until you reach the end of the core wire. If you used the wire gauges we suggested, you now have a 26/36 gauge Clapton core!
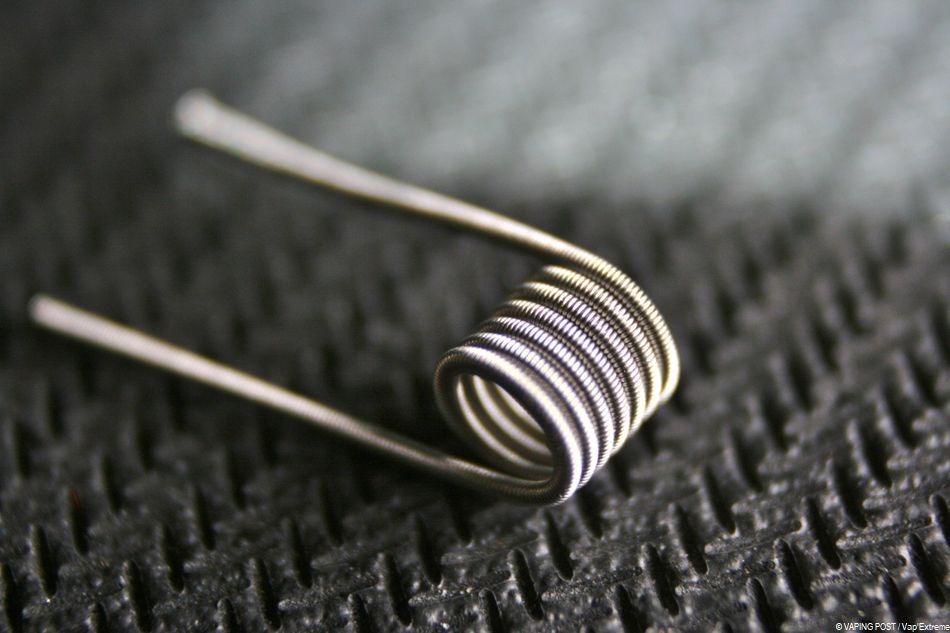
Now all you need to do is roll your coil!
Time to fit it to one of your atos or drippers. Remember to prime it so it heats up from the centre of the coil outwards. All you need to do now is enjoy a vape using your new, home-made coil!
To make fused Clapton, follow the same process but use 2 core wires instead of 1.
Happy vaping everyone!


