Concentrated recipes
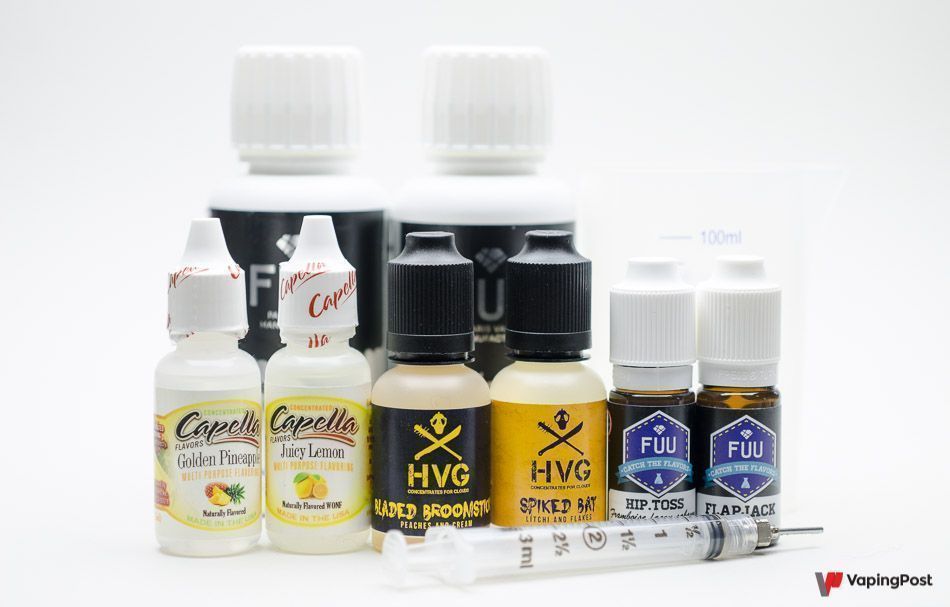
Concentrated recipes are the easiest way to achieve flavourful DIY liquids. They are easy to use, and the results are outstanding with the right dosage. Below you will find some advice on how to get the best out of them.
Concentrated recipes are the easiest way to achieve flavourful DIY liquids. They are easy to use, and the results are outstanding with the right dosage. Below you will find some advice on how to get the best out of them.
 In our previous articles on DIY liquids, we looked at how to make a base, containing nicotine or not. You are now able to vape; you simply need to add some flavour. Of course, it is not absolutely necessary, the base can be vaped on its own if all you are after is a throat hit. However, as that would only satisfy a tiny minority of vapers, we will take it as read that adding flavours is nicer. There are two ways that you can do this
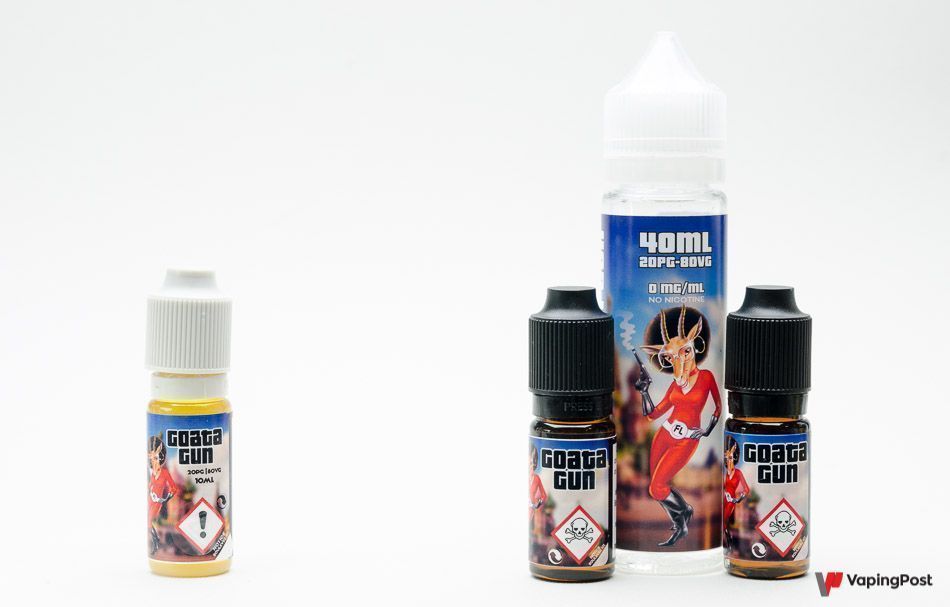
Incidentally, some liquids are available in a ready-to-vape version, as well as in concentrated recipe form for DIY liquids. They are ultimately the same thing, apart from the fact that, in the second case, you make your own blend of base and flavours, whereas, in the first case, the manufacturer has done it for you.
 As seen in our introductory article on DIY liquids, one of the advantages of making your own liquids is the price. To produce an e-liquid, manufacturers produce a concentrate first by mixing pure flavours, then mix a dose of this concentrate with the base. Selling the concentrate directly avoids the second step, and therefore helps reduce production costs and the retail price. The principle is the same as that used by Ikea for example, selling flat-pack furniture costs less than manufacturing it entirely, and makes the end price lower.
The comparison doesn’t stop there either, because in both cases, the end product must be easy to reproduce by anyone. And unlike flat-pack furniture, at least with DIY liquids, you won’t have to try to find out where to put the screw that is always left over once you have assembled your furniture, or ask yourself if it is absolutely necessary for your shelving unit to stay standing after all.
The DIY process is easy, as you will see later, and it is good for your wallet, which can be calculated quickly by taking an example, with prices taken from an online site.
Based on the average prices recorded in Europe: Ready-to-vape liquid: €6.50 per 10ml
Concentrate for dilution to 10%: €7.90€ per 10 ml, i.e. €0.79 per ml 125 ml
DIY base: €3, i.e. €0.024 per ml 20 mg/ml
booster in 10 ml format: €1.90, i.e. €0.19 per ml
To make 100 ml of liquid with 12 mg/ml of nicotine, you will need to use 6 boosters, 30 ml of base and 10 ml of concentrate, for a total cost of 7.9+11.4+0.72= €20.02 per 100 ml. This is less than one-third of the €65 cost of 10 bottles of the corresponding e-liquid.
The calculation is even more attractive if you vape with lower nicotine contents. If you repeat the above calculation with a liquid containing 3 mg/ml of nicotine, the cost of 10 ml of DIY liquid comes to 7.9+2.85+1.80= €12.55. There is a clear difference compared to 12 mg/ml, with a price under 20% that of the e-liquid, and even lower if a 1 or 5 litre base is used.
The booster is actually more expensive than the base, and vaping with a higher nicotine content increases the cost of the DIY liquid. However, if we do the same calculation for a liquid containing 20 mg/ml of nicotine, 100 ml of DIY liquid still only costs 17.1+7.9=€25, i.e. €2.5 per 10 ml. No industrial e-liquid can compete with such a price.
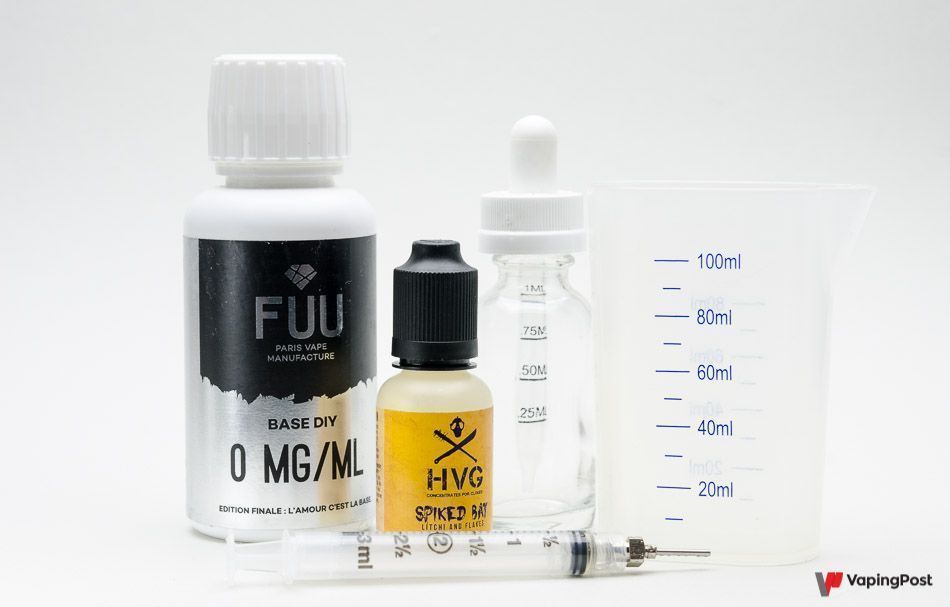
 Nothing could be simpler than making your own DIY liquid with a concentrated recipe. The recipe manufacturer specifies the dosage as a percentage of the concentrate. You simply dilute it in this proportion with the base. For example, if the concentrate is diluted to 10% and you want to make 200 ml of liquid, you mix 10% concentrate, i.e. 20 ml, with 90% base, i.e. 180 ml.
The simplest way to mix the concentrate well in the base is to place the liquid in a bottle, close the bottle, and shake vigorously. It is not essential to wear a Hawaiian shirt and have Wild Again in the background, unless you want to be like Tom Cruise in Cocktail, taking the experience to another level. You can also use a laboratory blender, which is just as effective but without the glitz. Or any other method enabling you to mix it all properly.
The big question remains precisely that of the dosage. As seen in our guide about bases, the higher the vegetable glycerin content, the weaker the flavours will be. This is true for equal dosages, so you will need to increase the flavour dosage when there is more VG in the base.
The most diligent manufacturers specify either a range of dosages, for example 10 to 15%, or, even better, the concentrate dosage according to the base. For example, 12% concentrate in a 70/30 base, 15% in a 50/50 base and 18% in a 30/70 base.
If you only have one figure, it is generally the dosage for a 50%PG/50%VG base. Decrease the concentration slightly if you have more propylene glycol, and increase it if you have more vegetable glycerin. If in doubt, carry out a trial run with 10 ml of liquid, and correct based on the result to make larger quantities of the liquid. In any case, the dosages are given as a rough guide only, you will probably modify them based on your personal preferences. However, avoid massively overdosing the flavours as, in theory, the lower the flavour content, the safer the vaping experience will be. All you now have to do is steep your liquid before vaping, which is discussed in detail in our article on steeping.
We have prepared a series of articles examining DIY liquids: